


Hi guys!!! I haven't slept before 2 AM this whole week. I don't even know what I've been doing. I just enjoy being a night owl lol. I'm leaving for Los Angeles soon and tomorrow I have SENIOR PORTRAITS! Oh my goodness. Anyways, today I have another post about a really cool and versatile gift! For the first time ever, I'm going to go step by step! Gift giving for me has always been a way to show people that I really care about and love them. I love taking the time to sit down and really think about creative ways to make them happy. Yes, buying a gift card is UBER easy, but it doesn't have the unique factor that handmade gifts have. People think that handmade gifts are really difficult, but they're not. Just give it a try. Maybe this can be your very first gifting experience. Today we are making paper heart coupons! These are a cute little gift for ANY occasion for ANYbody.
Phase 1: Paper heart coupons
(my gifts are usually multilayered because that's the type of person I am. so this is phase one)
Materials: paper (origami, regular printer paper, sticky notes, whatever), pen, scissors (optional)
 |
| Rock? Paper! Scissors! and a pen too... |
Step 1: Sizing the paper
The paper you have might not be the perfect size. I just used regular printer paper and it definitely wasn't the right size. So I did the old fashioned fold-and-rip technique! The secret is to fold the paper both ways (front and back) and make sure you get a nice hard crease. For one sheet of printer paper, I managed to get 16 smaller pieces. I wanted to make 20 coupons but the number is totally up to you. If you aren't comfortable tearing the paper, you can always use scissors (I'm not comfortable with scissors...).
 |
| Wah. It hurtsssss. |
Step 2: Writing the coupons
This is a more personal step since I have no idea what your gift receiver enjoys. In elementary school, I used to make coupon books for my parents on Mother's/Father's Day and you could always go with the "wash the dishes", "take out the trash", etc chore coupons! Since I was making this for S, I chose to make little coupons for future date ideas [movie marathon, food run, concert, etc]. These things all have a short history to them so on the front I wrote it out and doodled a picture and on the back I wrote a note. If coupons aren't your thing, then you could totally just do notes or funny quotes. That's the lovely thing about handmade gifts. You can personalize everything and change any little detail that you don't really like.
 |
| This is how I brainstormed: music, lipbalm, notepad time! |
Step 3: Origami time!
I have never met anyone who fails more at origami than I do. These paper hearts were quite a challenge for me but once I got in the hang of it, it was a lot easier. Origami is all about precision and making sure you're folding right on the lines. I found two really cool websites that helped me a bunch! Here's a new thing I tried out: vlogging (sort of). Sometimes an instructive video is a lot better than diagrams, especially for origami. It took me forever to figure out where exactly to fold. So either option is available!
 |
| Magic! |
Origami Heart (square)
This website is incredibly useful. . . if you have a square piece of paper. Now that was not my case. I was starting out with a rectangle. I already told you I fail at origami so you can imagine my predicament. I didn't know how to fold a rectangular piece of paper into a square shape. Do not fear because I found a second website.
Origami Heart (rectangle)
These pictures confused me but once I got my rectangular piece of paper into square form (steps 1-3), I used the first website. After a couple tries, I knew what to do. The hard part is always the beginning.
Here's a video of me showing you how to do this!
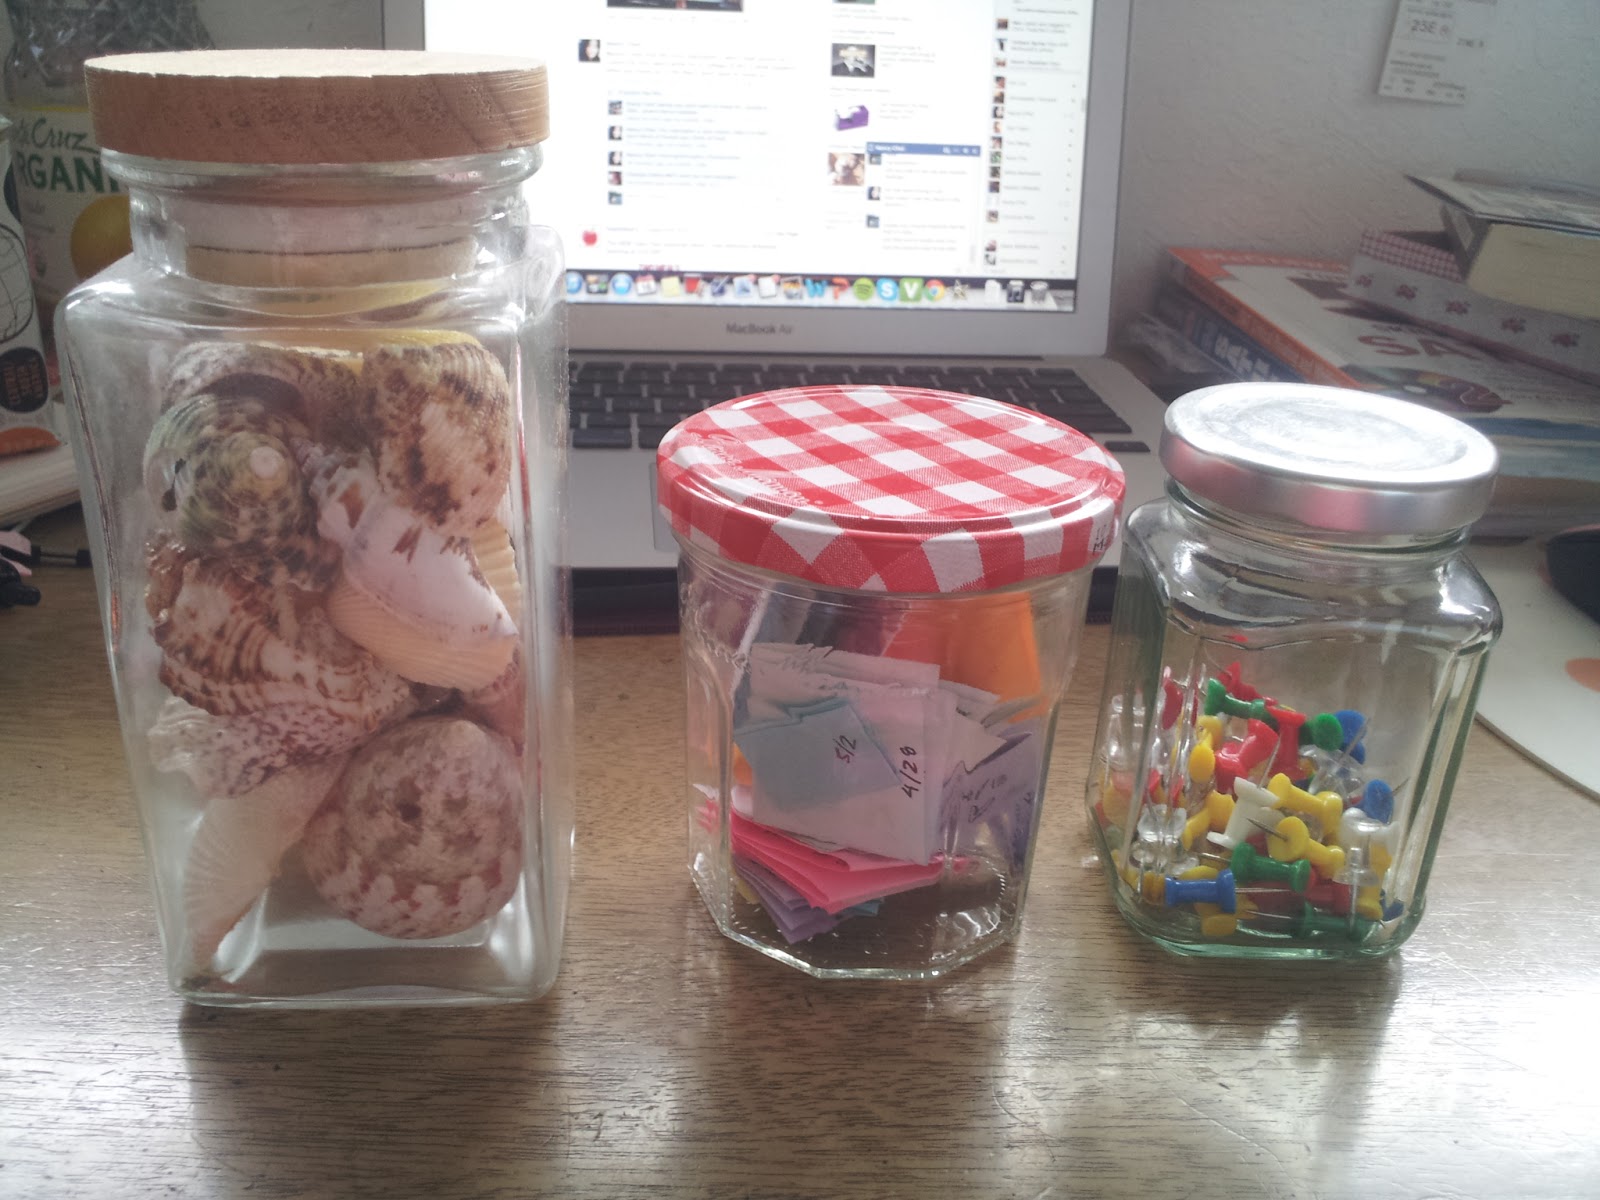
Step 4: Jars OMG!
I love love love jars. I don't know why, I just do. Glass jars are the perfect place to put these paper hearts. Just choose a jar that is the right size. I only made 20 of these from incredibly small pieces of paper so even a regular jam jar was much too big. I ended up putting my hearts into a pudding jar! I always make a mental note never to throw jars away.
 |
| There are so many uses! |
 |
| Yup! My pudding jar!! This is basically the final product sans the little sticky notes I decorated that jar with. I made some colorful 3D hearts to spice up the bland factor. You can also put little rolled up pieces of paper or candy or whatever you so desire. |
I unfortunately don't have any pictures of this stage!!!! So I did this one time before for a secret santa ultimate troll. For secret santa, I had a huge cardboard box and decorated all the sides and made a little interactive game. There were questions on every side ranging from personal (write down some goals for the new year, favorite color, favorite Bible verse, etc) to educational? (solve this calculus problem, what author wrote this, etc). You had to answer the questions on the side in order to move on to the next side. Inside there was A SECOND BOX and more questions. My church members had a lot of fun doing this all together. I feel like that's a gift should provide: an experience. Now my secret santa gift receiver will always remember the box and maybe some traumatic feelings.
I did a very similar thing for this gift. On all the sides and little folds of cardboard, I wrote down questions about me. You can crazy with the BOX challenge. It's just a fun way to make your gift that much more memorable.
I got a little inspiration from something my old church did at a retreat. They had one box wrapped with 20 different layers of wrapping paper. On each layer there was a thing to do: apply makeup on the person next to you without looking, propose to someone, tell a joke, etc. It was a hot potato style game where you passed the box as fast as possible so that it didn't land on you when the music stopped. This is also a fun idea but I do not have the patience of skill to wrap my box 20 times. I was considering it yes.
Phase 3: Wrapping
I had a perfect little box that was used to hold a mug. Small boxes are hard to find I must admit. If you can't find a box or you don't want to go through the hassle of wrapping, that's perfectly understandable.
Materials: Wrapping material, tape, scissors (optional), ribbon/string/twine
 |
| Fashion magazines are really good for this too but I don't have any right now. |
Step 1: Choose your wrapping paper
You might have a wonderful mother at home who loves wrapping paper. If that is the case, have fun picking out the prettiest one with the most sparkles! If you don't have any wrapping paper, fear not (at least, not yet). For the box, I didn't have enough wrapping paper so I turned to magazine paper. Magazine paper is really glossy and you can probably find at least one page with lots of colors and fun diagrams. I love Time Magazine so I always have a bajillion copies laying around. They come every week and I devour it and then I don't know what to do with it. Reusing pages as wrapping paper is a creative approach to saving trees. If you go with magazine paper you don't really need the scissors (unless ripping paper really isn't your thing).
Step 2: Wrap!
I've gotten A LOT better at wrapping but I'm not really good yet. I wrote an article for my student newspaper about wrapping gifts for the holidays! So here it is as a guide for all of you who are daunted by wrapping paper.
 |
| I wrote this article with a friend so that's why there's a black box. Privacy. |
 |
| As you can see I did both wrapping style ideas and they both look awesome! |
I don't know if this is necessary for you. I wrote a card and put that in a envelope and wrapped it up. If you only have one package, then you might not want to add anything else and that's totally fine. It's just personal preference!
 |
| Looking good! |
Well thank you guys for making it to the end of this tutorial. I cannot wait to see what S thinks about this. He can't open this until the 24th when I'm in Korea so I won't know until then. Do you guys want to see more of these types of tutorials? Let me know in the comments below. If any of you guys do make this, post pictures somewhere and link me! I think you can put pictures in the comments but I'm not totally sure. This is a really fun craft and I hope you enjoyed!
No comments:
Post a Comment